Getting Started
Installation
After downloading the latest version of colormate from blendermarket.com:
- Open Blender
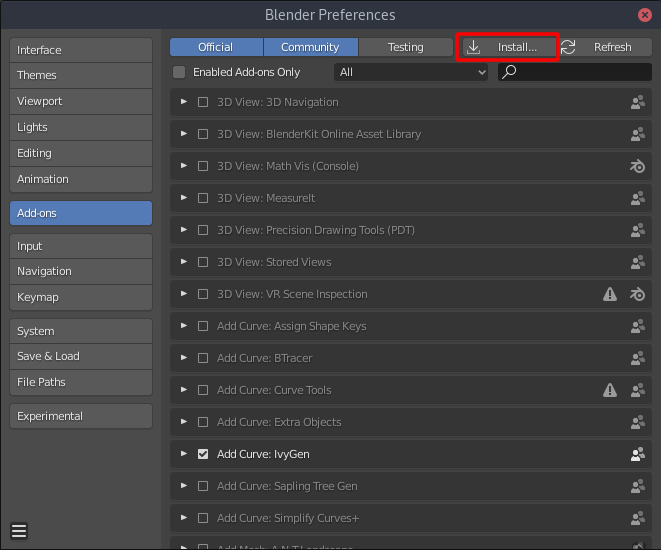
- Open the Blender Preferences via Edit > Preferences or F4 > Preferences
- Click on Add-ons on the left and choose Install… (as shown in the image below)
- Navigate through your filesystem and select colormate_x.x.zip
Where to find it
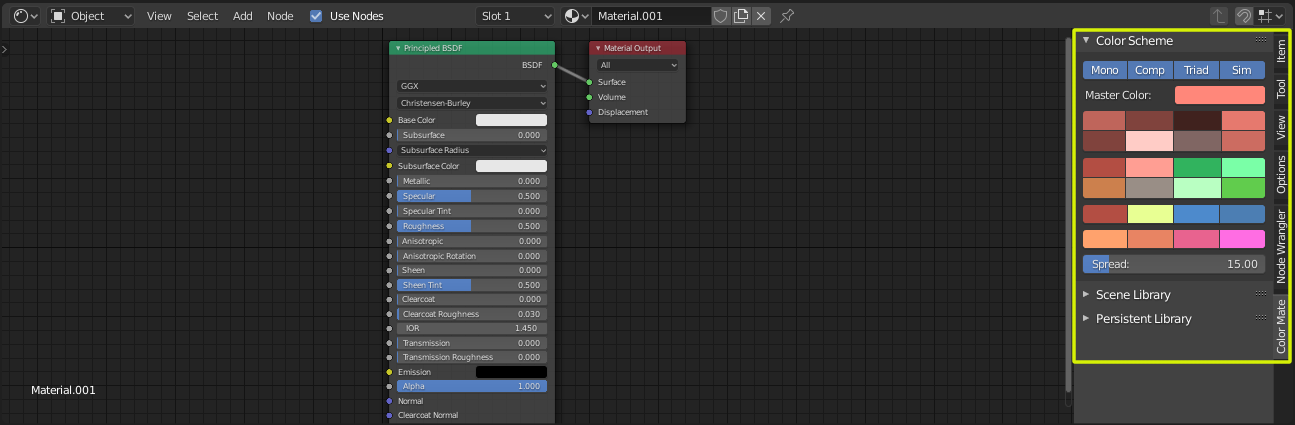
After installation the colormate addon can be found in the Shader Node Editor’s side panel (Hotkey: N).
If you want to use the colormate GUI in a different location in blender don’t worry, you can dock the GUI in 3 locations. The locations can be configured in colormates Panel docking settings.
Updating the addon
Updating the addon can be done one of two ways:
- Installing over the previous version
Going through the Installation process again and selecting the newer version zipfile.
If you are doing it this way you still need to disable and reenable the addon by unchecking and checking it in the Preferences to make sure the updated version is loaded.
- Removing & installing
- Removing the addon with the Remove button in it’s Preferences section and then installing the newer version zipfile as described in Installation
Warning
If you have colors loaded in the Persistent Library and Scene Library and don’t want to lose them save them to a file on disk first!
When you disable or update the addon, it’s preferences will be reset, the colors in the Persistent Library and Scene Library are stored in those preferences.